Chap 8. Helm 패키지 매니저
Helm이란?
helm은 쿠버네티스 패키지 매니저이다. apt, yum, pip 툴과 비슷하다고 생각하면 된다.
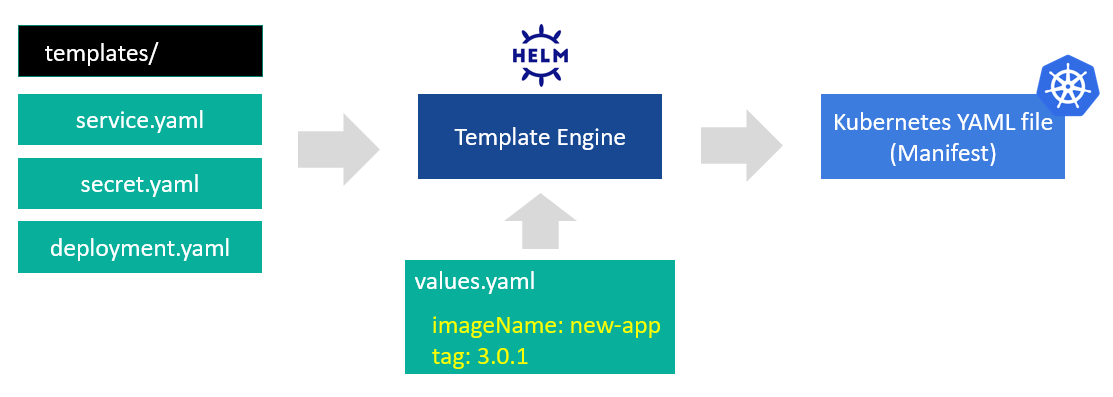
helm 차트의 구조는 크게 values.yaml과 templates/ 디렉터리로 구성된다.
values.yaml: 사용자가 원하는 값들을 설정하는 파일tamplates/: 설치할 리소스 파일들이 존재하는 디렉터리로, 해당 디렉터리 안에는Deployment,Service등과 같은 쿠버네티스 리소스가 Yaml 파일 형태로 들어있다. 각 파일들의 설정값은 비워져있고(placehoolder) values.yaml의 설정값들로 채워진다. 패키지가 설치될 시점에values.yaml파일의 설정값들을 이용하여 templates 디렉터리에 들어있는 Yaml 파일의 구멍난 부분(placeholder)을 채운다.values.yaml파일에는- 자주 바뀌거나 사용자마다 달라지는 설정값들을 입력하는 용도로 사용하고
templates디렉터리는 패키지의 뼈대를 이룬다.
helm을 잘 활용하면 다른 사람이 만든 애플리케이션도 손쉽게 나의 쿠버네티스 클러스터로 가져올 수 있게 된다, 도커가 단순히 프로세스 레벨에서 외부의 것을 가져다 쓸 수 있게 해준 것이라면, 쿠버네티스에서는 helm을 이용하여 프로세스(Pod)와 네트워크(Service), 저장소(뒤에서 살펴볼 Persistent Volume) 등 애플리케이션에서 필요한 모든 자원들을 외부에서 가져올 수 있게 한다.
Helm 설치
curl https://raw.githubusercontent.com/helm/helm/master/scripts/get-helm-3 | bash -s -- --version v3.2.2
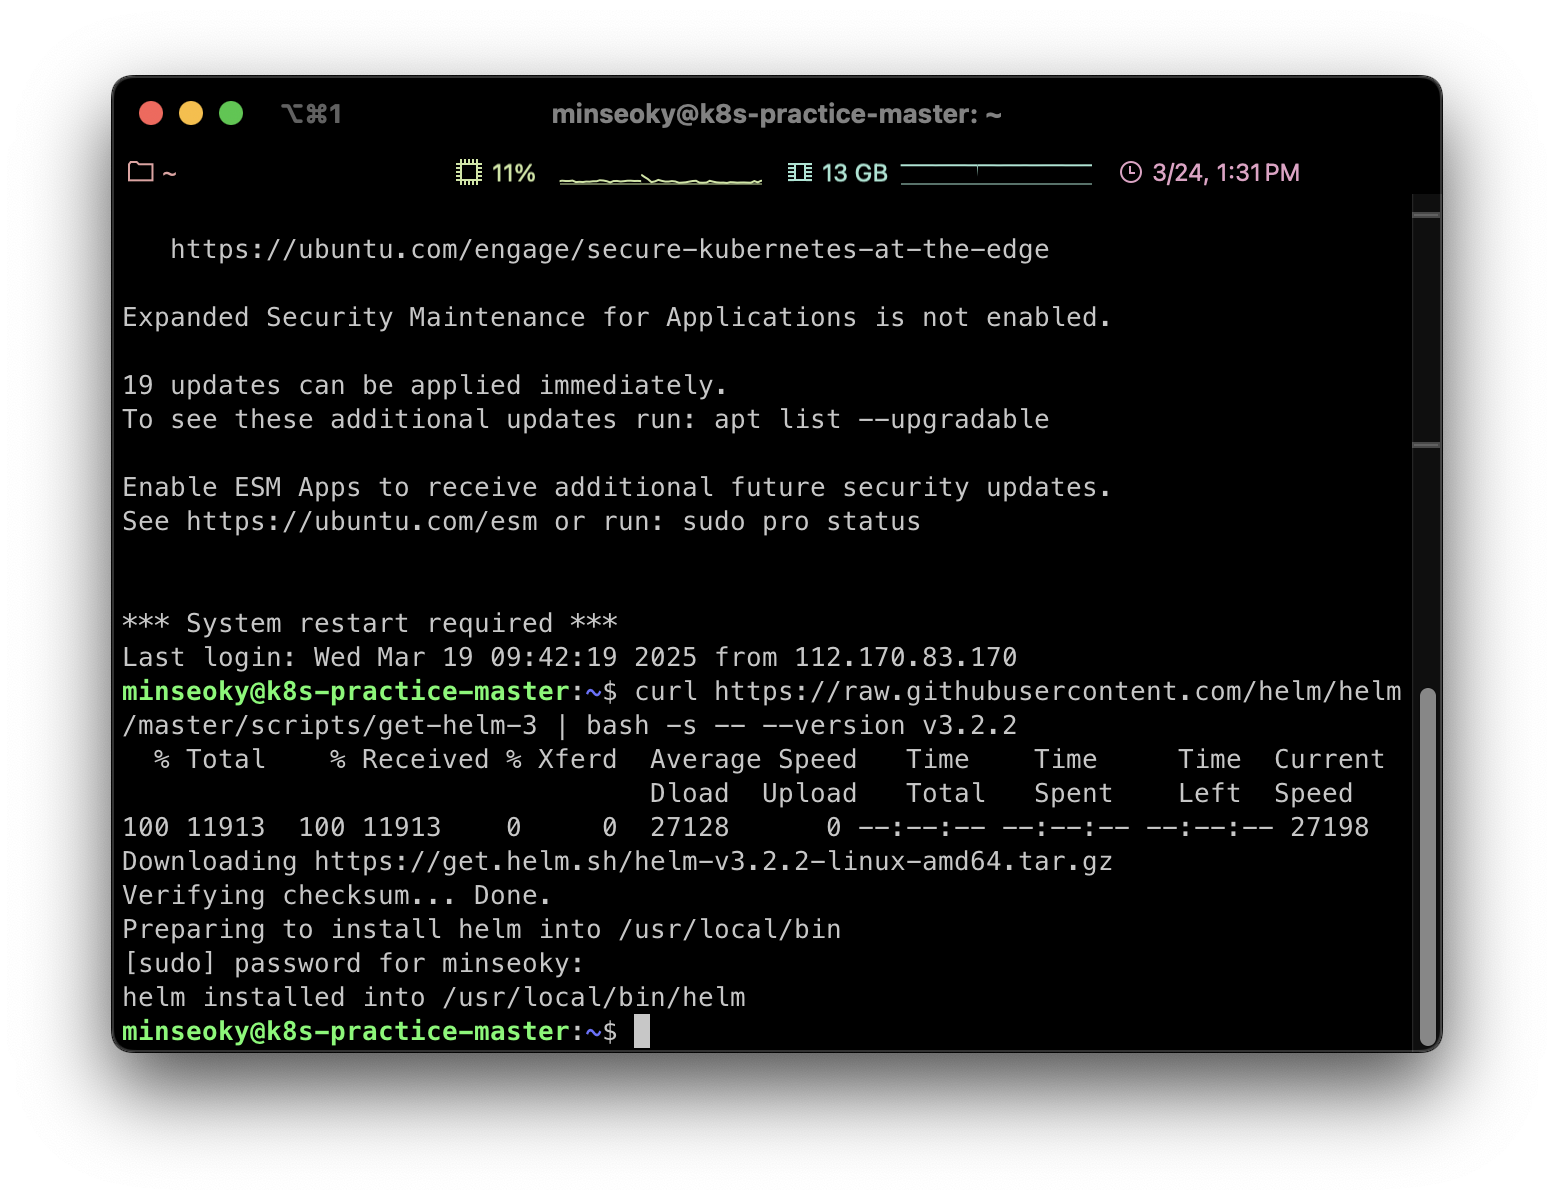
Chart 생성
chart는 리소스들을 편리하게 배포하거나 다른 사람들과 쉽게 공유할 수 있게 패키징한 설치파일 묶음이다. 이 설치파일 묶음을 만들어보자. mychart라는 이름을 가진 chart를 생성하고, 안에 어떤 파일들이 있는지 확인한다.
helm create mychart
ls mychart

- Chart.yaml: chart이름, 버전 정보 등 chart의 전반적인 정보를 담고 있다.
- charts: chart 속에 또 다른 여러 chart들을 넣을 수 있다. 기본적으로는 비어있다.
- templates/: chart의 뼈대가 되는 쿠버네티스 리소스가 들어있는 폴더이다.
- values.yaml: 사용자가 정의하는 설정값을 가진 Yaml 파일이다.
ls mychart/templates

templates 폴더 아래의 service.yaml을 살펴보면 placeholder({{ key }}) 가 있는 것을 확인할 수 있다. 여기서
{{ .Values.service.type }}, {{ .Values.service.port }}를 기억하자.
service.yaml
apiVersion: v1
kind: Service
metadata:
  name: {{ include "mychart.fullname" . }}
  labels:
    {{- include "mychart.labels" . | nindent 4 }}
spec:
  type: {{ .Values.service.type }}
  ports:
    - port: {{ .Values.service.port }}
      targetPort: http
      protocol: TCP
      name: http
  selector:
    {{- include "mychart.selectorLabels" . | nindent 4 }}
values.yaml
# Default values for mychart.
# This is a YAML-formatted file.
# Declare variables to be passed into your templates.

replicaCount: 1

image:
  repository: nginx
  pullPolicy: IfNotPresent
  # Overrides the image tag whose default is the chart version.
  tag: ""

imagePullSecrets: []
nameOverride: ""
fullnameOverride: ""

serviceAccount:
  # Specifies whether a service account should be created
  create: true
  # Annotations to add to the service account
  annotations: {}
  # The name of the service account to use.
  # If not set and create is true, a name is generated using the fullname template
  name: ""

podAnnotations: {}

podSecurityContext: {}
  # fsGroup: 2000

securityContext: {}
  # capabilities:
  #   drop:
  #   - ALL
  # readOnlyRootFilesystem: true
  # runAsNonRoot: true
  # runAsUser: 1000

service:
  type: ClusterIP
  port: 80

ingress:
  enabled: false
  annotations: {}
    # kubernetes.io/ingress.class: nginx
    # kubernetes.io/tls-acme: "true"
  hosts:
    - host: chart-example.local
      paths: []
  tls: []
  #  - secretName: chart-example-tls
  #    hosts:
  #      - chart-example.local

resources: {}
  # We usually recommend not to specify default resources and to leave this as a conscious
  # choice for the user. This also increases chances charts run on environments with little
  # resources, such as Minikube. If you do want to specify resources, uncomment the following
  # lines, adjust them as necessary, and remove the curly braces after 'resources:'.
  # limits:
  #   cpu: 100m
  #   memory: 128Mi
  # requests:
  #   cpu: 100m
  #   memory: 128Mi

autoscaling:
  enabled: false
  minReplicas: 1
  maxReplicas: 100
  targetCPUUtilizationPercentage: 80
  # targetMemoryUtilizationPercentage: 80

nodeSelector: {}

tolerations: []

affinity: {}
위의 values.yaml에서 service.type과 service.port를 각각 LoadBalancer와 8888로 교체한 뒤 install하면,
helm install foo ./mychart
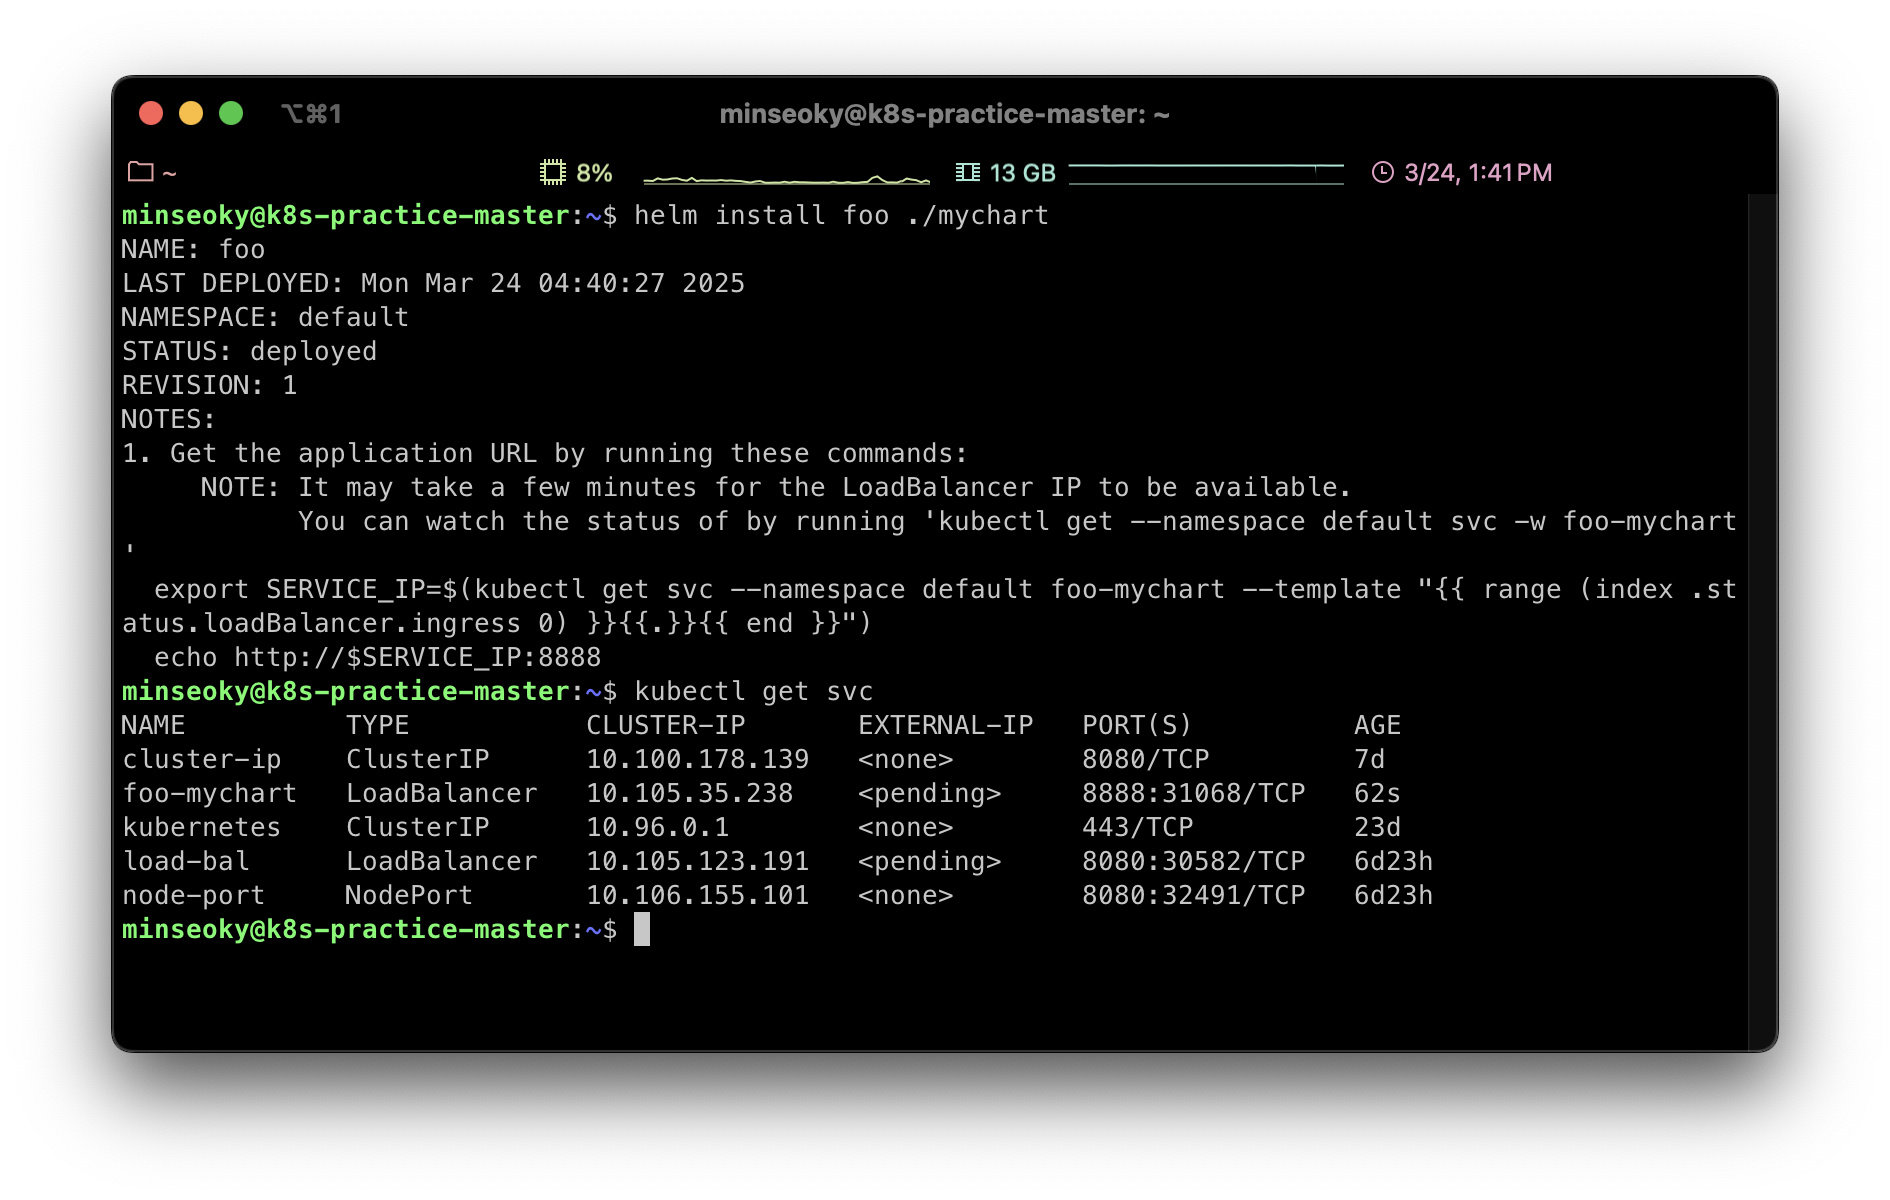
로드밸런서 타입에 8888포트를 사용함을 알 수 있다.
Chart 리스트 조회
설치된 helm chart들을 조회한다. -n 옵션을 이용해서 네임스페이스별 다른 리스트를 조회할 수도 있다.
helm list
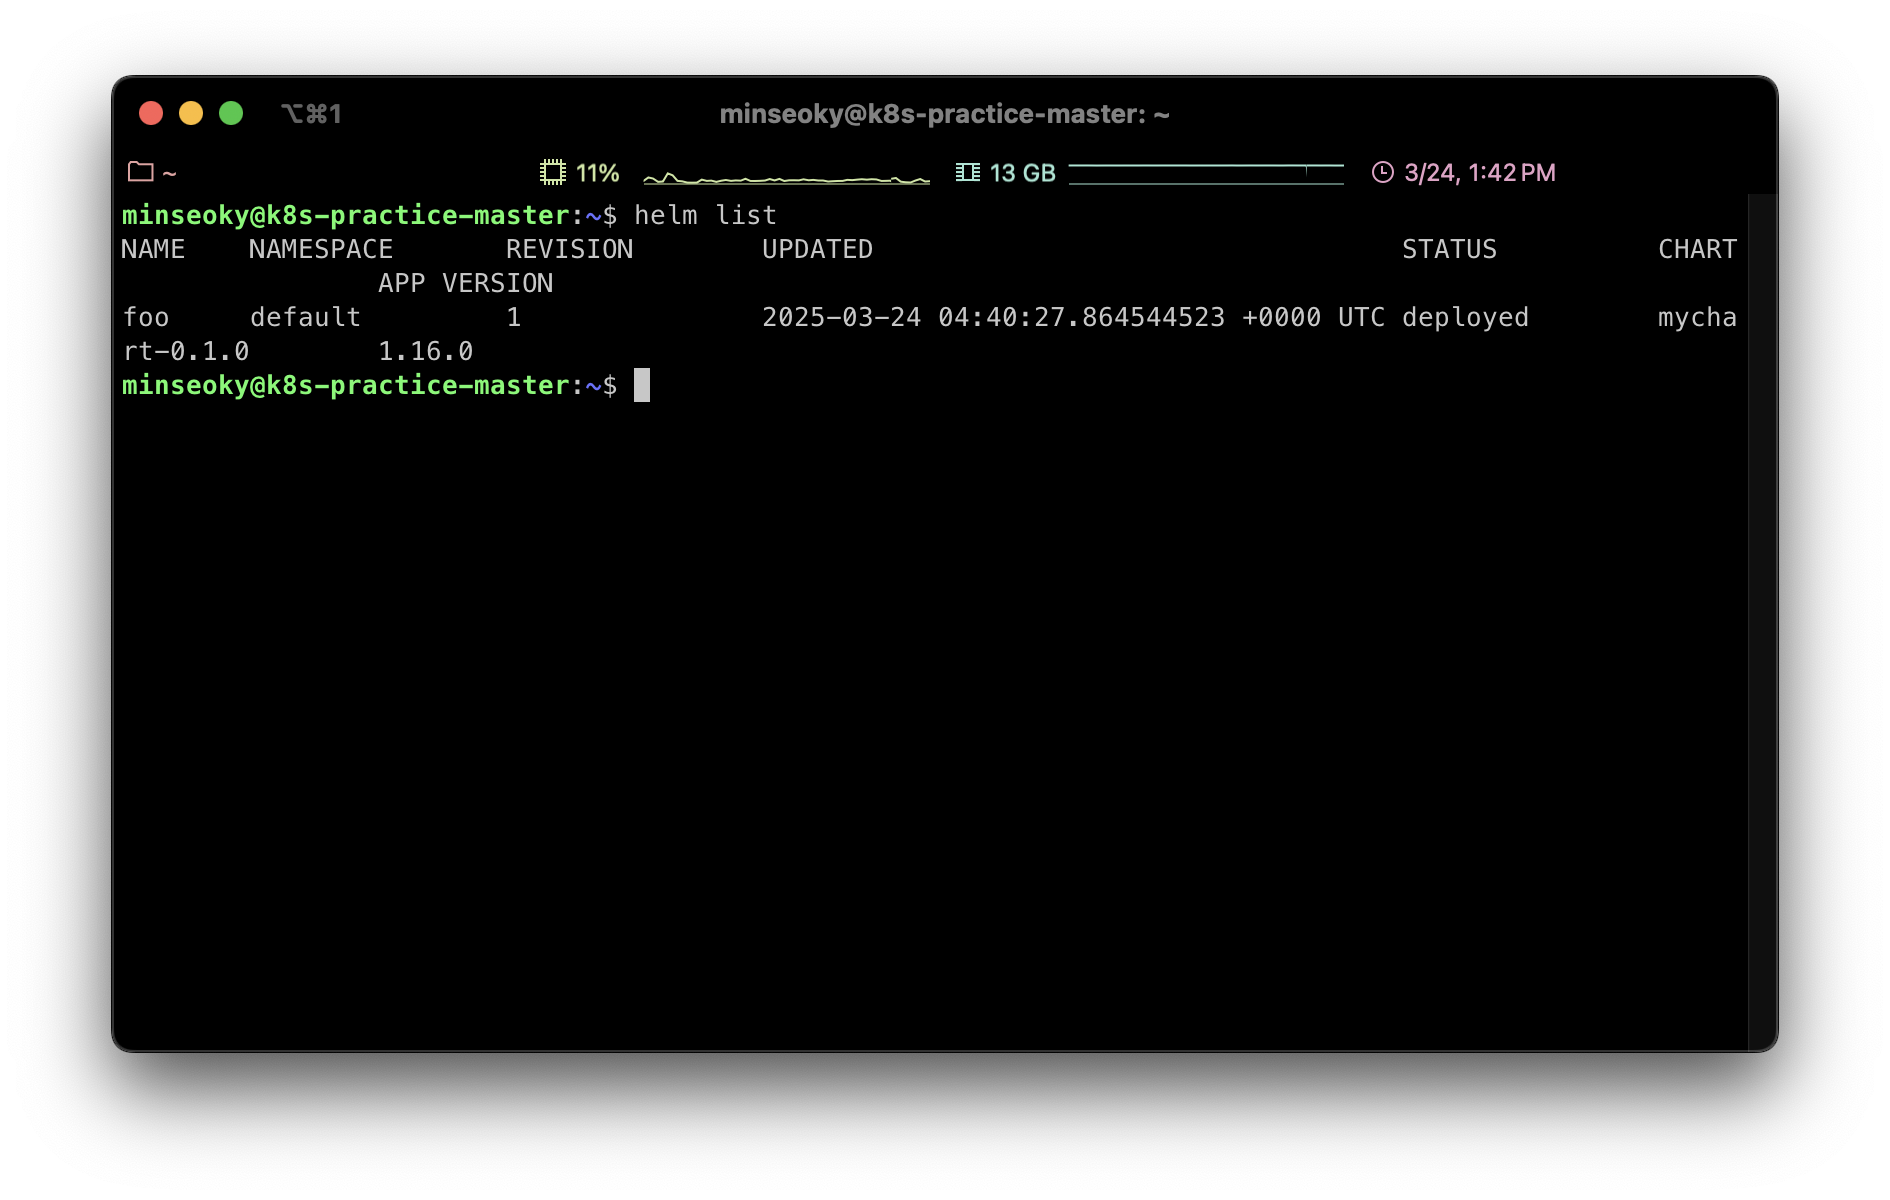
Chart 랜더링
실제 설치까지 수행하는 것이 아니라, values.yaml파일과 templates안의 템플릿 파일들의 합쳐진 Yaml 정의서 결과를 확인하려면 template명령을 사용할 수 있다.
helm에서는 이것을 rendering한다고 표현한다. kubectl 명령툴의 --dry-run 옵션과 유사하다.
helm template foo ./mychart > foo-output.yaml

Chart 업그레이드
이미 설치한 chart에 대해 values.yaml 값을 수정하고 업데이트할 수 있다. Service 타입을 NodePort로 수정하고 다시 배포해보자.
helm upgrade foo mychart/
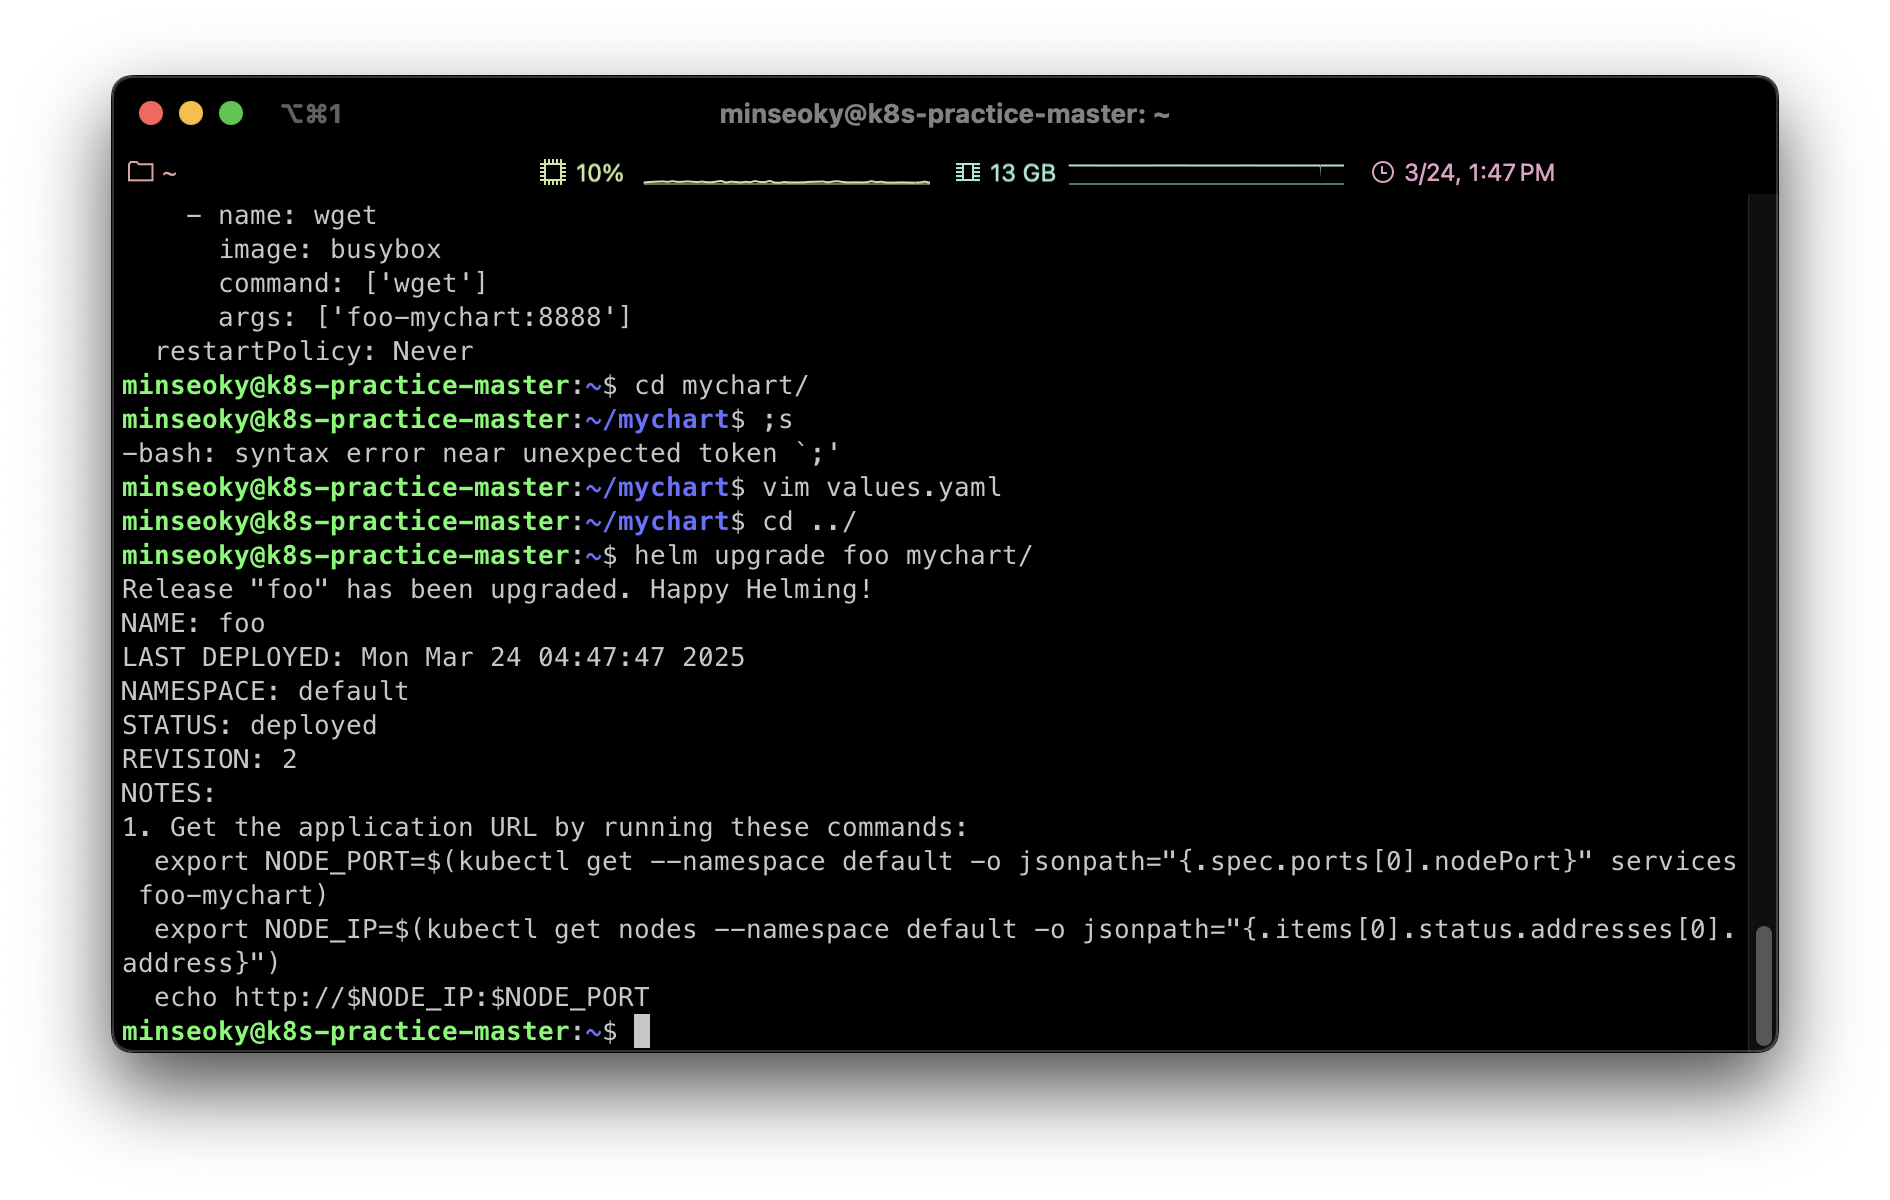
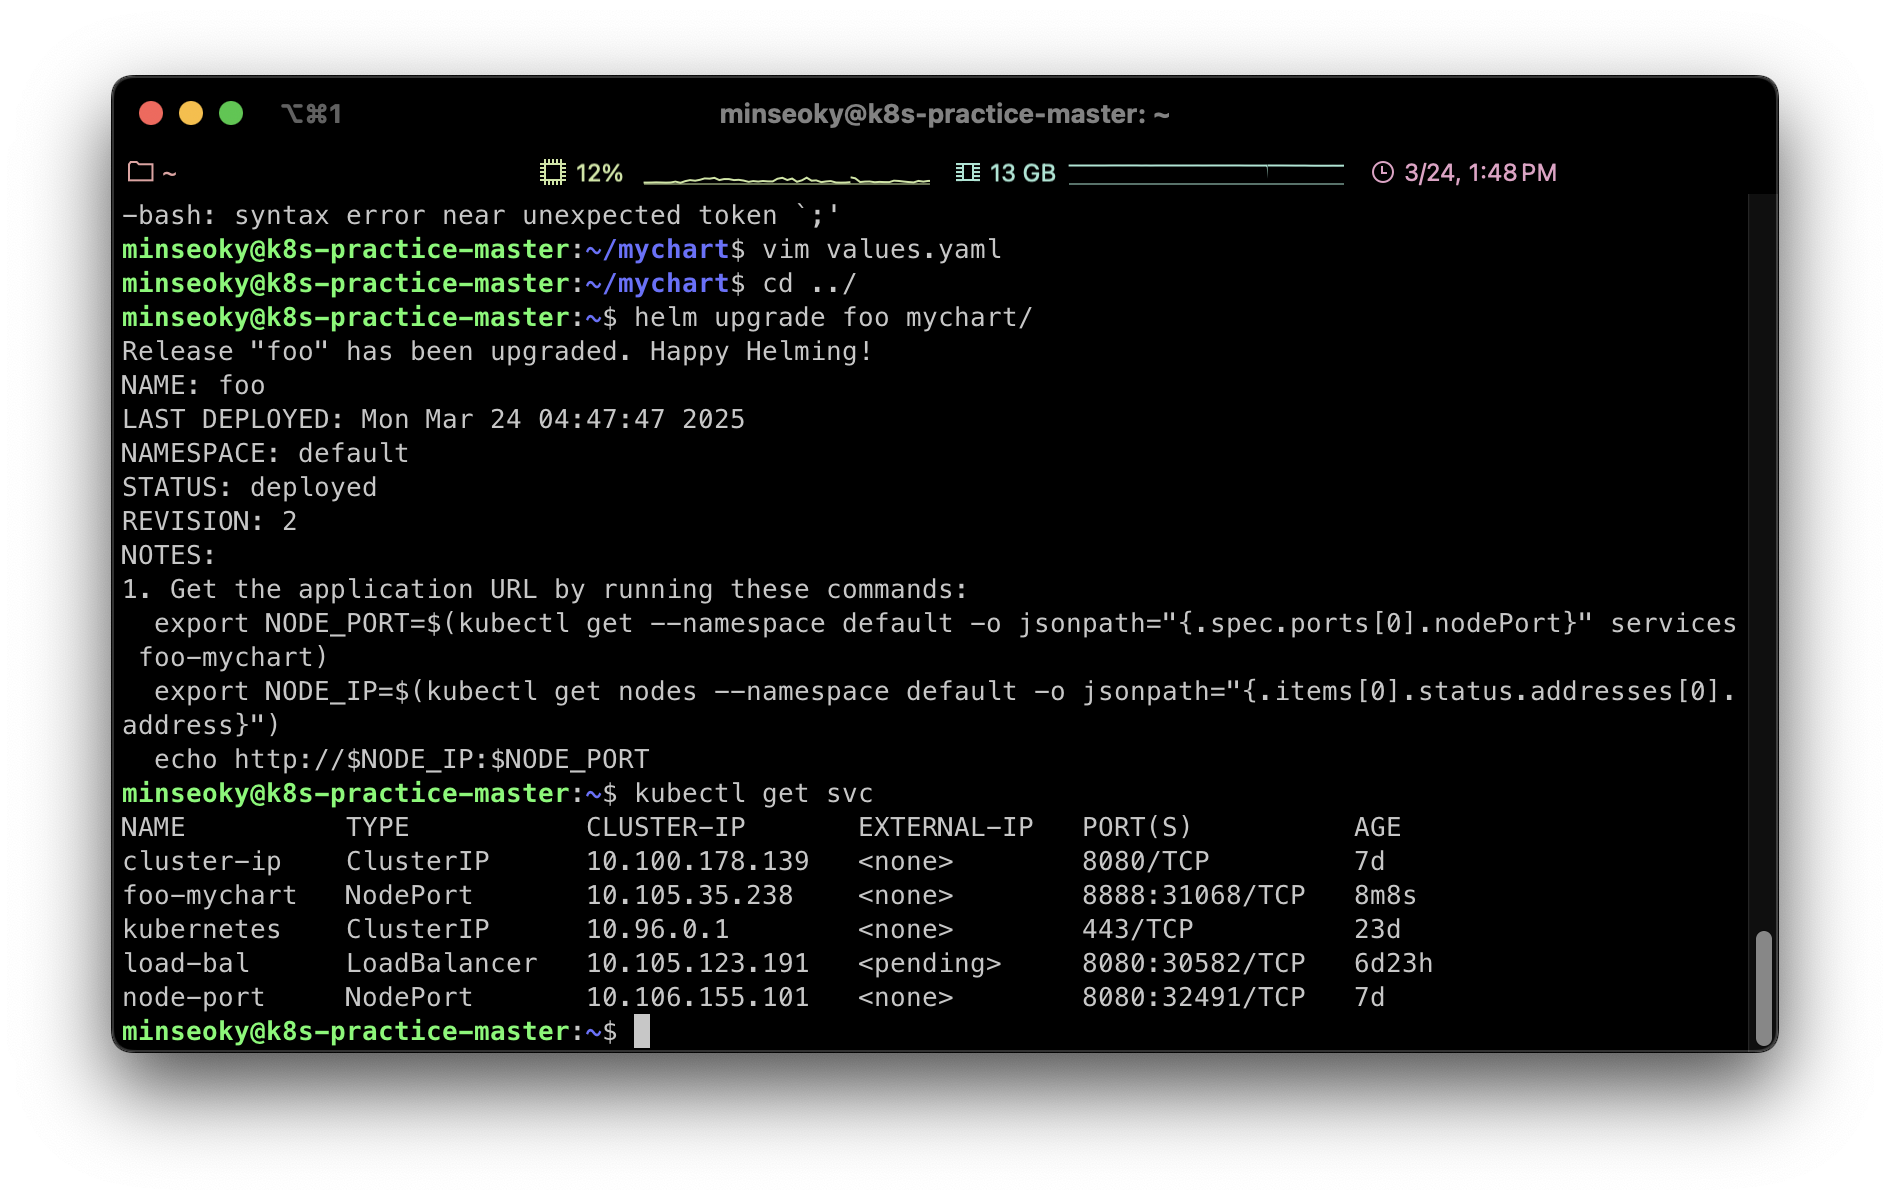
Chart 배포상태 확인
배포된 chart의 상태를 확인하기 위해서 다음과 같은 명령을 사용한다.
helm status foo
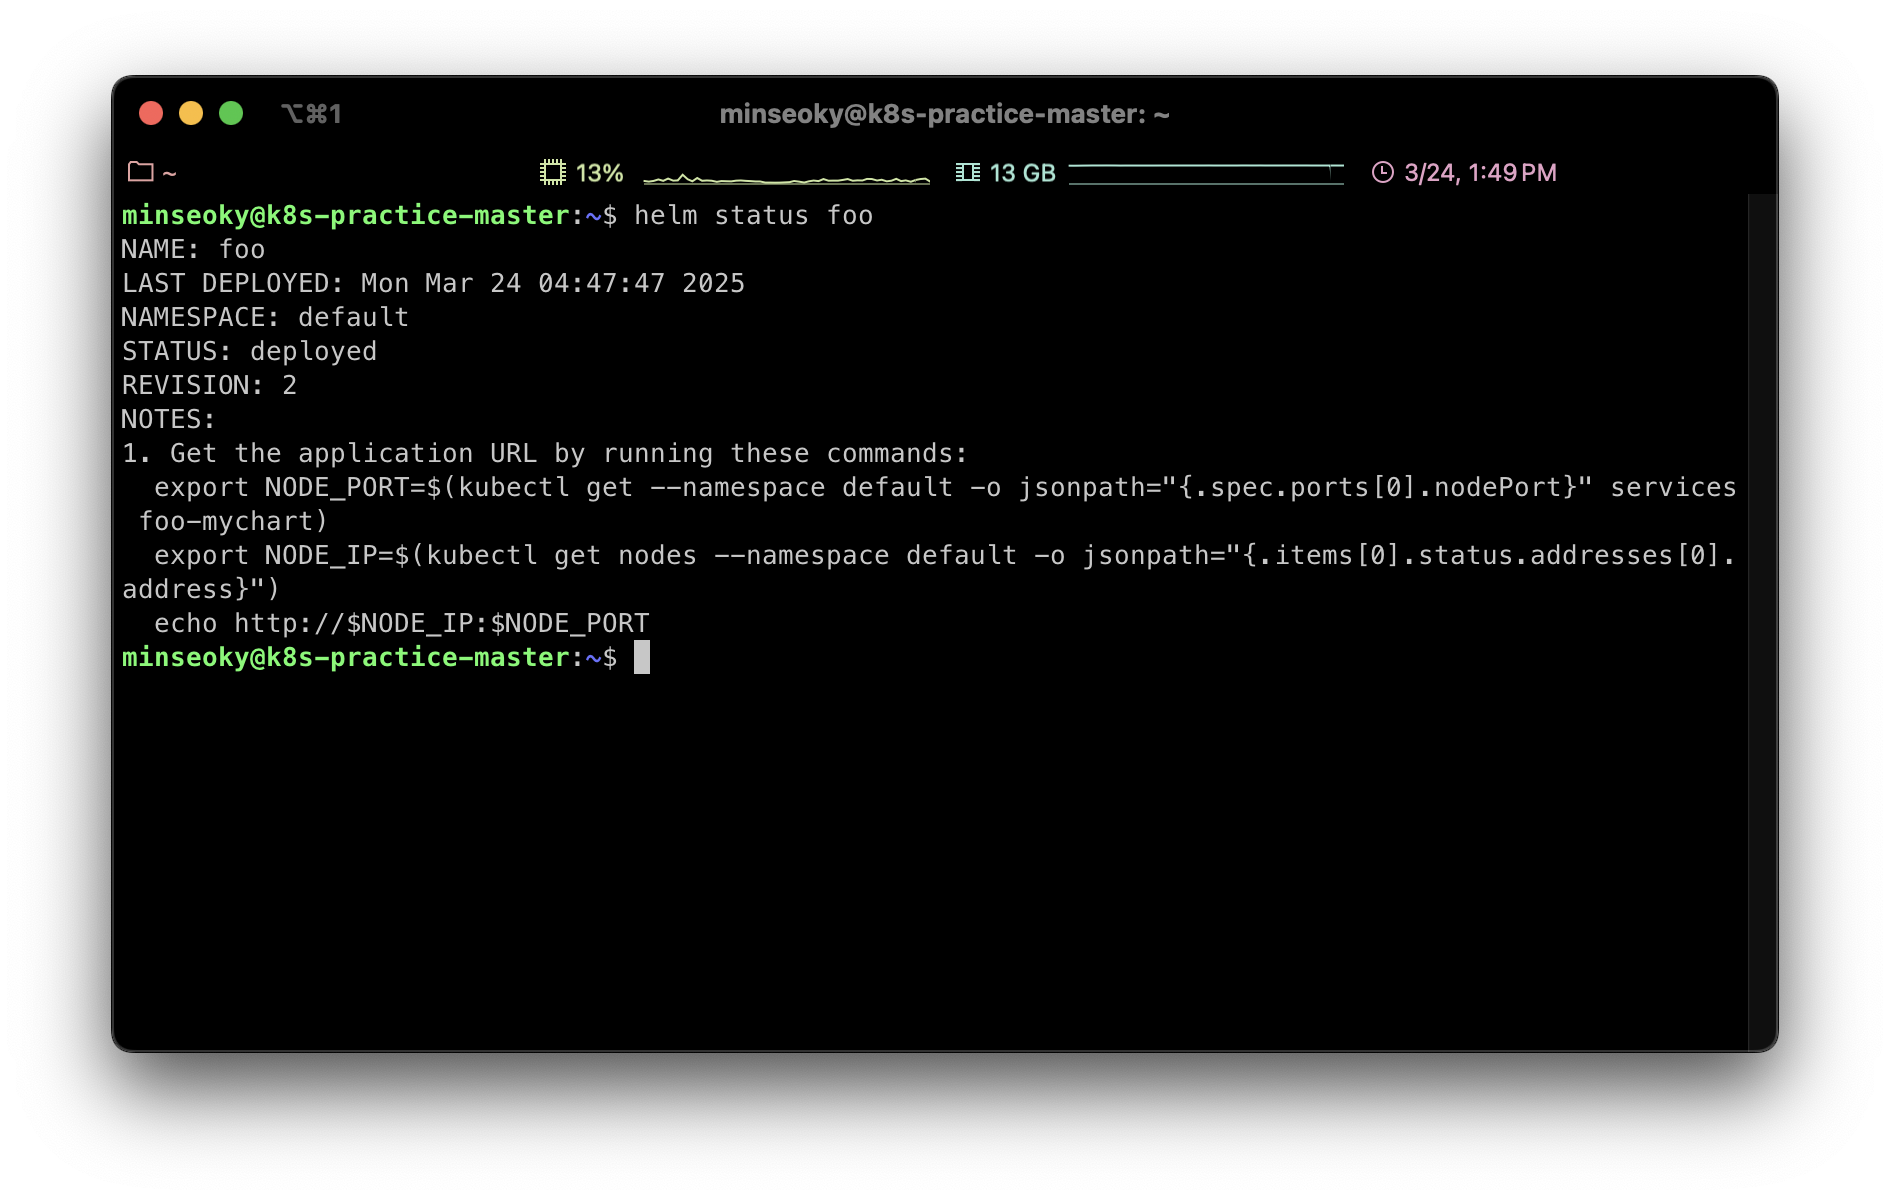
Chart 삭제
helm delete foo

원격 리포지토리
helm을 사용할 때의 가장 큰 장점은 외부에 잘 구축된 애플리케이션을 손쉽게 가져올 수 있게 해준다는 점이다. helm만 잘 사용해도 쿠버네티스 생태계에서 지원하는 다양하고 강력한 애플리케이션들을 활용할 수 있다.
helm에는 chart 원격 저장소인 리포지토리가 있다. 리포지토리는 여러 chart를 한 곳에 묶어서 보관해놓은 저장소이다. 사용자가 온라인상에 제공되는 리포지토리를 추가하여 원격 저장소로부터 chart를 로컬 클러스터에 설치할 수 있다.
리포지토리 추가
stable이라는 리포지토리를 추가해보자
helm repo add stable https://charts.helm.sh/stable
리포지토리 업데이트
추가한 리포지토리의 인덱스 정보를 최신으로 업데이트한다. helm은 리포지토리 정보를 기본적으로 캐싱하기 때문에, 신규 chart를 설치하기 위해서 업데이트를 수행한다.
helm repo update

리포지토리 조회
현재 등록된 리포지토리 리스트를 확인한다. 현재 stable 리포지토리 하나만 등록했으므로 하나만 보인다.
helm repo list

리포지토리 내 chart 조회
stable 리포지토리에 저장된 chart리스트를 확인한다.
helm search repo stable

💡 https://artifacthub.io/ 에서 stable 리포지토리 외에 다양한 원격 저장소를 조회할 수 있다.
외부 chart 설치(WordPress)
chart install
stable 리포지토리에 있는 WordPress chart를 설치해보자.
로컬 디렉토리에 chart가 존재하지 않더라도 원격 리포지토리에 있는 chart를 바로 설치할 수 있다.
옵션은 다음과 같다.
--version: chart의 버전을 지정한다. Chart.yaml안에 version 정보를 참조한다.--set: 해당 옵션으로values.yaml값을 동적으로 설정한다.--namespace: chart가 설치될 네임스페이스를 지정한다.
helm install wp stable/wordpress \
    --version 9.0.3 \
    --set service.port=8080 \
    --namespace default
⚠️ 2025.03.24 기준 위 버전은 deprecated 되었습니다.
chart fetch
리포지토리의 chart를 원격에서 바로 설치할 수도 있지만, 로컬 디렉터리로 다운로드해서 설치할 수도 있다.
사용자가 세부적으로 설정값들을 수정한 후에 애플리케이션을 설치하고 싶을 때 fetch를 사용한다. 먼저 fetch로 chart를 다운로드 한다.
helm fetch --untar stable/wordpress --version 9.0.3
--untar: 폴더로 풀어진 상태를 저장
이후 values.yaml을 수정하고
helm install wp-fetch ./wordpress
로 설치하면 된다.